Compact Skid Steer Operating Guidelines in 2023
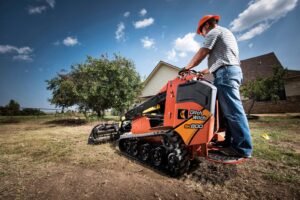
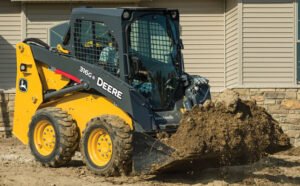
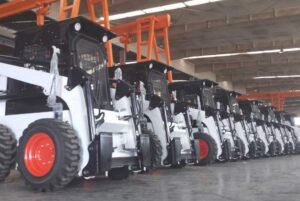
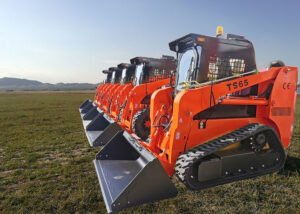
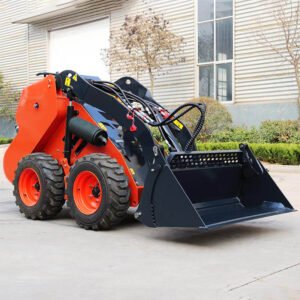
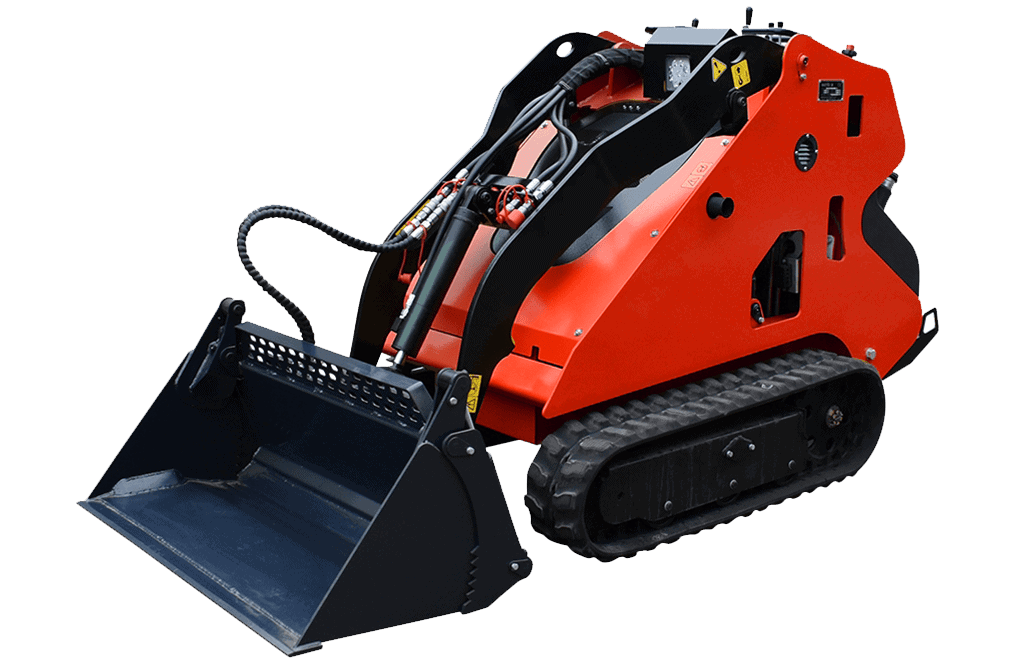
Introduction A compact skid steer is construction equipment used to transport materials. These devices provide considerable power in compact chassis and can perform heavy tasks in confined spaces. Compact skid steers are versatile machines that are likely to be found in most applications. Compact track loaders are built to help you get more work done in a very short time. They are known for being the market’s most powerful, comfortable, and flexible loaders. A similar type of other machine lacks; lifting capacity, pushing force, buoyancy, and ground disturbance. They can accomplish the assignment even if the surfaces are soft, sandy, moist, or muddy. This equipment can weigh as much as a small vehicle, and its compact size makes it a popular option for various tasks. Some examples are hauling items or waste, excavating landscaping materials, and leveling and grading land. Skid steers are versatile workhorses that may be used on both industrial building sites and home improvement projects. Although they are simple to use, training is necessary. Follow the below-mentioned step-by-step instructions if you want to learn how to operate a compact skid steer. 1) Learn the Basic Controls of the Compact Skid Steer An access control system enables the compact track loader to complete tasks quickly and precisely. It is an investment that will frequently save significant time and money over the machine’s life. Compact Skid Steer loaders with multiple control methods can be more flexible. Automatic Lockout System Compact Skid Steer When the engine is started, the accessory or parking lockout system on skid steers is automatically activated. Before the Compact Skid Steer can be operated, we have should activate the automatic lockout system. Buttons or switches with lock symbols near the main instrument panel must be activated. The seatbelt and overhead safety lock must be fastened before disengaging the parking brake. Starter Controls A starter is a mechanism that allows a Compact Skid Steer motor to start independently. The ignition controls on various skid steers vary. They are usually either a keyed ignition or a keyless starter button. These starters are located in the cab’s upper right corner. Steering Levers Compact Skid Steer A steering controller monitors the left and right wheel speeds on a Compact Skid Steer. When the vehicle turns, it directs the wheels to minimize wheel sliding with the ground. The skid steer’s primary control points are two hand joysticks. These joysticks, as well as the foot pedals, are located on the left and right sides. The controls are based on a John Deere skid steer’s ISO control pattern. Dual-lever foot control is also available on the majority of skid steers. Skid steer loaders can withstand the harshest conditions thanks to the twin lever and synch control head. Monitoring Features & Gauges At a minimum, your Compact Skid Steer should have the following gauges and controls: Fuel Gauge: The amount of fuel remaining in the fuel tank is displayed. Engine Coolant Temperature Gauge: The Engine Coolant Temperature Indicator displays the temperature of the engine coolant. Auxiliary Hydraulic Override Switch: It is used to prevent the flow of hydraulic fluid. High Flow Switch: Power accessories that require a high flow rate to operate. Hydraulics OFF Indicator: A red indicator light will illuminate when the hydraulics are turned off. Hydraulic Oil Temperature Indicator: A red indicator light appears when the hydraulic oil temperature is too high. Water-in-Fuel Indicator: The Water-in-Fuel Indicator warns the driver when water is detected in the fuel system. Parking Brake Indicator: A red indicator lights when the parking brake is engaged. 2) Start Your Skid Loader 3) Disengaging the Traction Lock Override System There are several traction control system methods available to prevent wheel skidding. This section explains how to disengage the Traction Lock Override System; 4) Boom Movement The term “boom” refers to the vertical up-and-down movement of the compact skid steer. You should practice raising and lowering the boom before starting a task. 5) Scooping & Dumping Controls Once you’ve learned the lifting and lowering of the boom, practice dumping and scooping controls. 6) Driving a Skid Loader 7) Turning Left or Right Move the left joystick to the left to make a left turn. Move the left joystick to the right to make a right turn. Moving the left joystick forward and to the right causes you to accelerate in that direction. 8) Scooping the Material You can use your skid steer to scoop up a mound of debris once you’ve mastered all of the controls. When approaching the pile, keep your boom low to the ground. Drive to your material pile: Using the left joystick, maneuver the skid steer toward the material pile. Before you reach the material pile, stop the machine. Drop your boom and bucket to ground level: Press the right joystick forward to lower the bucket to the front edge of the pile. The bucket’s front blade should be horizontal and parallel to the ground. Drive forward and scoop the material: Close the bucket and scoop up the debris by moving the right joystick to the left with the skid steer positioned perfectly in front of the pile. Going ahead while scooping is useful for larger mounds. Back up from the pile: After your bucket is full, pull the left joystick back to exit the heap. Raise the boom: Pull the right joystick back to raise the boom and bucket to a safe carrying height. Carry loads close to the ground but high enough to avoid obstacles. Loads that are too heavy might cause skid steers to tip over. 9) Dumping the Material It’s time to dump the bucket once you’ve loaded it with the material. It is best to practice scooping and to dump with the same pile to become acquainted with the tools. Drive to the dump pile: Use the left joystick to get to the landfill. Put yourself in front of the garbage heap. Lower the boom: Move the right joystick forward to drop the boom and bucket to the ground